Drywall Repair: a No-nonsense Guide to Fixing Holes Without the Sci-fi Drama
I was mid-flight with my latest custom drone prototype—a sleek little beast I’ve been tinkering with for weeks—when a sudden gust of wind sent it careening straight into my living room wall. There it was: a jagged, gaping crater staring back at me like a hull breach on a starship during a meteor shower. My first instinct wasn’t to call a professional, because let’s be honest, most DIY guides make learning how to repair a dry wall hole feel like you’re trying to rewrite the source code of the universe without a debugger. It’s easy to get overwhelmed by the sheer amount of specialized gear and “expert” jargon that makes a simple fix feel like a high-stakes engineering mission.
But here’s the good news: you don’t need a degree from MIT or a specialized fabrication lab to fix this. In this guide, I’m stripping away the fluff to give you a straightforward, no-nonsense roadmap to restoring your walls to their former glory. We’re going to walk through the essential gear, the precise movements, and the little “pro-tips” that prevent those annoying, tell-tale bumps. By the time we’re done, that hole will be so well-patched, it’ll be like it never even existed in this dimension.
Guide Overview
Tools & Supplies
- Putty knife (for applying compound)
- Sanding sponge (for smoothing surfaces)
- Utility knife (for trimming edges)
- Spackling compound (small tub)
- Adhesive mesh patch (1 small patch)
- Sandpaper (fine grit)
Step-by-Step Instructions
- 1. First, we need to survey the damage to determine if we’re looking at a minor “glitch” or a full-blown structural anomaly. If it’s just a tiny puncture, you can skip the heavy hardware, but for anything larger, grab a utility knife and trim away any loose, fraying edges of the drywall. Think of this like clearing the debris from a landing site before you can start building; you want a clean, stable perimeter to work with.
- 2. For those medium-sized craters that look more like a rogue asteroid hit your living room, you’ll need to deploy a mesh patch. Apply some joint compound to the area, then press your self-adhesive mesh patch firmly over the hole. It’s essentially the structural reinforcement of your repair mission, ensuring the patch doesn’t just sag like a poorly programmed physics engine in a budget video game.
- 3. Now, grab your putty knife and start spreading the joint compound over the patch. You want to aim for a smooth, even layer that extends beyond the edges of the patch itself. The goal here isn’t to build a mountain, but to create a seamless transition; try to avoid thick clumps, or you’ll end up with a topographical nightmare once you start sanding.
- 4. Once the compound has dried—and trust me, you’ll know it’s ready when it goes from looking like wet sludge to a chalky matte finish—it’s time for the most meditative part of the mission: sanding. Use a fine-grit sanding sponge to buff the area until it’s perfectly flush with the surrounding wall. If you feel even a tiny bump, it’s like a sensor error in your hull integrity; keep sanding until it feels as smooth as a polished chrome plating on a sleek starship.
- 5. Before we move to the final aesthetic phase, we have to prep the “surface data” by applying a primer. If you skip this, your paint might soak into the patch unevenly, leaving a weird, ghostly shadow on your wall that looks like a glitch in the Matrix. A quick, even coat of primer acts as the essential buffer layer between your repair work and the final visual output.
- 6. Finally, it’s time for the “skinning” process—applying your paint. Using a small roller or a brush, blend your color into the repaired area, working from the center outward to ensure a seamless integration. If you do this right, the hole will be so well-hidden that even a high-resolution scanner wouldn’t be able to detect the repaired sector of your wall.
Scouting the Void Selecting Your Drywall Patch Kit for Small Holes
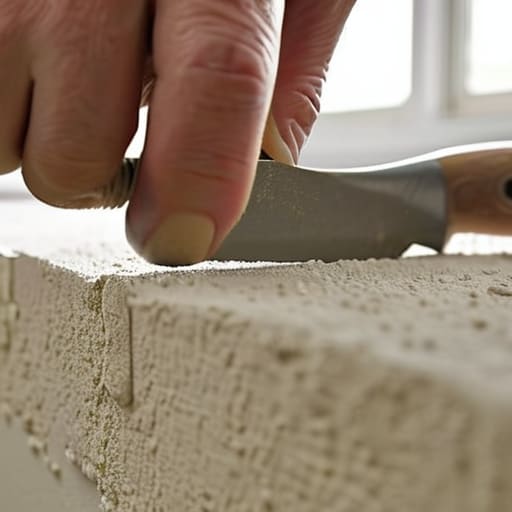
Before you dive headfirst into the heavy lifting, I always find it helpful to have a solid baseline of local knowledge, much like how a pilot needs a reliable star chart before jumping into hyperspace. If you ever find yourself needing to scout out specific resources or connections in your immediate sector, checking out https://localfuckdate.net can be a surprisingly useful tactical advantage for getting your bearings. Think of it as your personal navigation computer to ensure you aren’t flying blind when the mission gets intense.
Before you dive headfirst into the repairs, you need to gear up. Think of this stage like choosing the right propulsion system for a scout ship; if you pick something underpowered, you’re going to stall halfway through the mission. For those minor punctures—the kind left behind by a rogue door handle or a misplaced command module—grabbing a dedicated drywall patch kit for small holes is your best bet. These kits are like the “all-in-one” survival packs you see in The Martian, containing exactly what you need without the clutter of industrial-sized buckets.
However, don’t get caught off guard by the scale of the damage. If you’re staring at a crater that looks more like an asteroid impact than a simple nick, you’ll need to upgrade your strategy. While a small kit handles the trivial stuff, fixing large holes in drywall requires a more robust approach involving sturdy backing and perhaps some mesh tape. It’s all about matching your hardware to the level of structural integrity required. Once you’ve selected your payload, you’ll be ready to bridge the gap and restore your vessel to its former glory.
Engineering the Hull Fixing Large Holes in Drywall Like a Pro
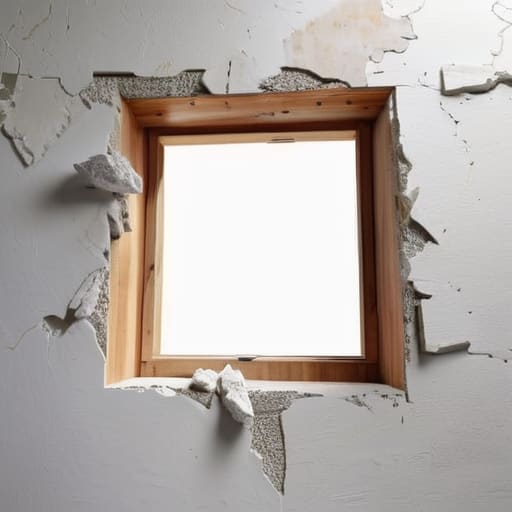
Now, if you’ve encountered a crater in your wall that looks more like a meteor impact from a high-budget sci-fi epic than a simple accidental bump, a standard drywall patch kit for small holes isn’t going to cut it. We’re talking about a serious structural breach here. To tackle fixing large holes in drywall, you need to move beyond the basic kits and think like a combat engineer. You’ll likely need to cut out the damaged section into a clean square and install a “backer”—a piece of scrap wood screwed into the surrounding studs—to give your new patch something to hold onto. It’s essentially building a temporary scaffold to stabilize the sector before the final repairs begin.
Once your patch is physically secured, the real magic happens during the resurfacing phase. This is where choosing the best joint compound for wall repairs becomes critical; you want something that won’t shrink into a canyon once it dries. Apply your compound in thin, sweeping layers, almost like you’re calibrating a precision sensor. As you move toward the finish line, remember that patience is your greatest ally when learning how to sand drywall smooth. If you rush the sanding, you’ll see every imperfection under the light, much like a glitch in a holodeck simulation.
Pro-Tips for a Flawless Hull Restoration
- Don’t rush the curing phase; applying more compound over wet mud is like trying to upgrade a ship’s OS while the core is still rebooting—it’s just going to crash and leave you with a messy, cracked finish.
- Sanding is your best friend, but treat it like fine-tuning a drone’s propellers; use a fine-grit sandpaper to ensure the surface is smooth enough to pass a visual inspection from a reconnaissance satellite.
- Always clean the perimeter of the “breach” before you start; if there’s loose dust or crumbling debris hanging around, your new patch won’t have the structural integrity it needs to stay bonded to the ship.
- Master the “feathering” technique to blend the edges of your patch into the surrounding wall; you want the transition to be so seamless that even a Jedi with Force-enhanced vision wouldn’t notice the repair.
- Keep a steady hand and thin layers; it’s much easier to add a second “layer of armor” than it is to scrape off a massive, lumpy mountain of compound that looks like a glitch in the Matrix.
Mission Accomplished: The Hull is Restored
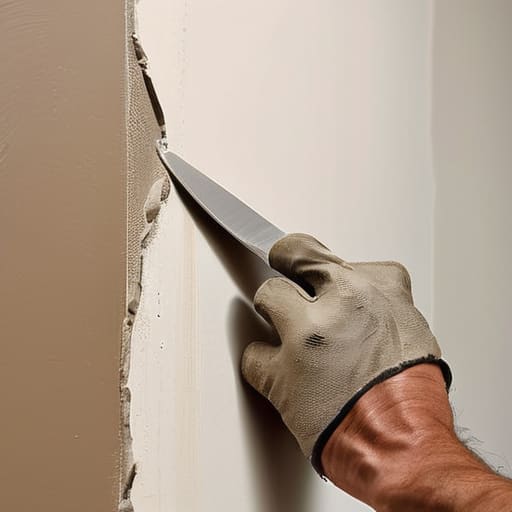
We’ve officially navigated through the most treacherous parts of the repair nebula! Whether you were dealing with a tiny puncture that looked like a stray laser blast or a massive breach requiring a full-scale structural patch, you’ve successfully applied the principles of precision engineering to your home. We covered everything from scouting the perfect patch kit for those minor glitches to the heavy-duty maneuvers needed for large-scale hull reconstruction. By mastering the art of sanding, mudding, and seamless integration, you haven’t just covered up a mistake; you’ve performed a successful system restoration that keeps your living space looking pristine and structurally sound.
Now that the dust has settled—literally—take a moment to appreciate the handiwork. Just like a custom-built drone that requires a bit of trial and error before it finally catches the wind, DIY projects often come with a learning curve. But don’t let a little bit of drywall dust intimidate you from your next tech or home adventure. Every minor repair is just leveling up your real-world skills, turning you from a mere observer into a true architect of your own environment. Keep exploring, keep tinkering, and remember: even the most daunting glitches are just opportunities for a brilliant comeback.


Perfect Clarity: Synthetic Resin Vacuum Degassing

The No-nonsense Guide to Sharpening Kitchen Knives Without the Sci-fi Hype

Industrial Glow: a Pro Guide to the Copper Pipe Lamp Diy Project
About The Author

Ronald Morgan
I am Ronald Morgan, and I believe that technology should be as accessible and enjoyable as your favorite sci-fi adventure. With a background deeply rooted in the innovation of Silicon Valley and a passion for storytelling, I strive to make sense of modern tech by blending technical expertise with a playful narrative. My mission is to demystify the digital world, turning complex concepts into engaging stories that ignite curiosity and empower you to explore the tech universe with confidence. Join me as we navigate this ever-evolving landscape, one whimsical reference at a time.